 03 8583 9108

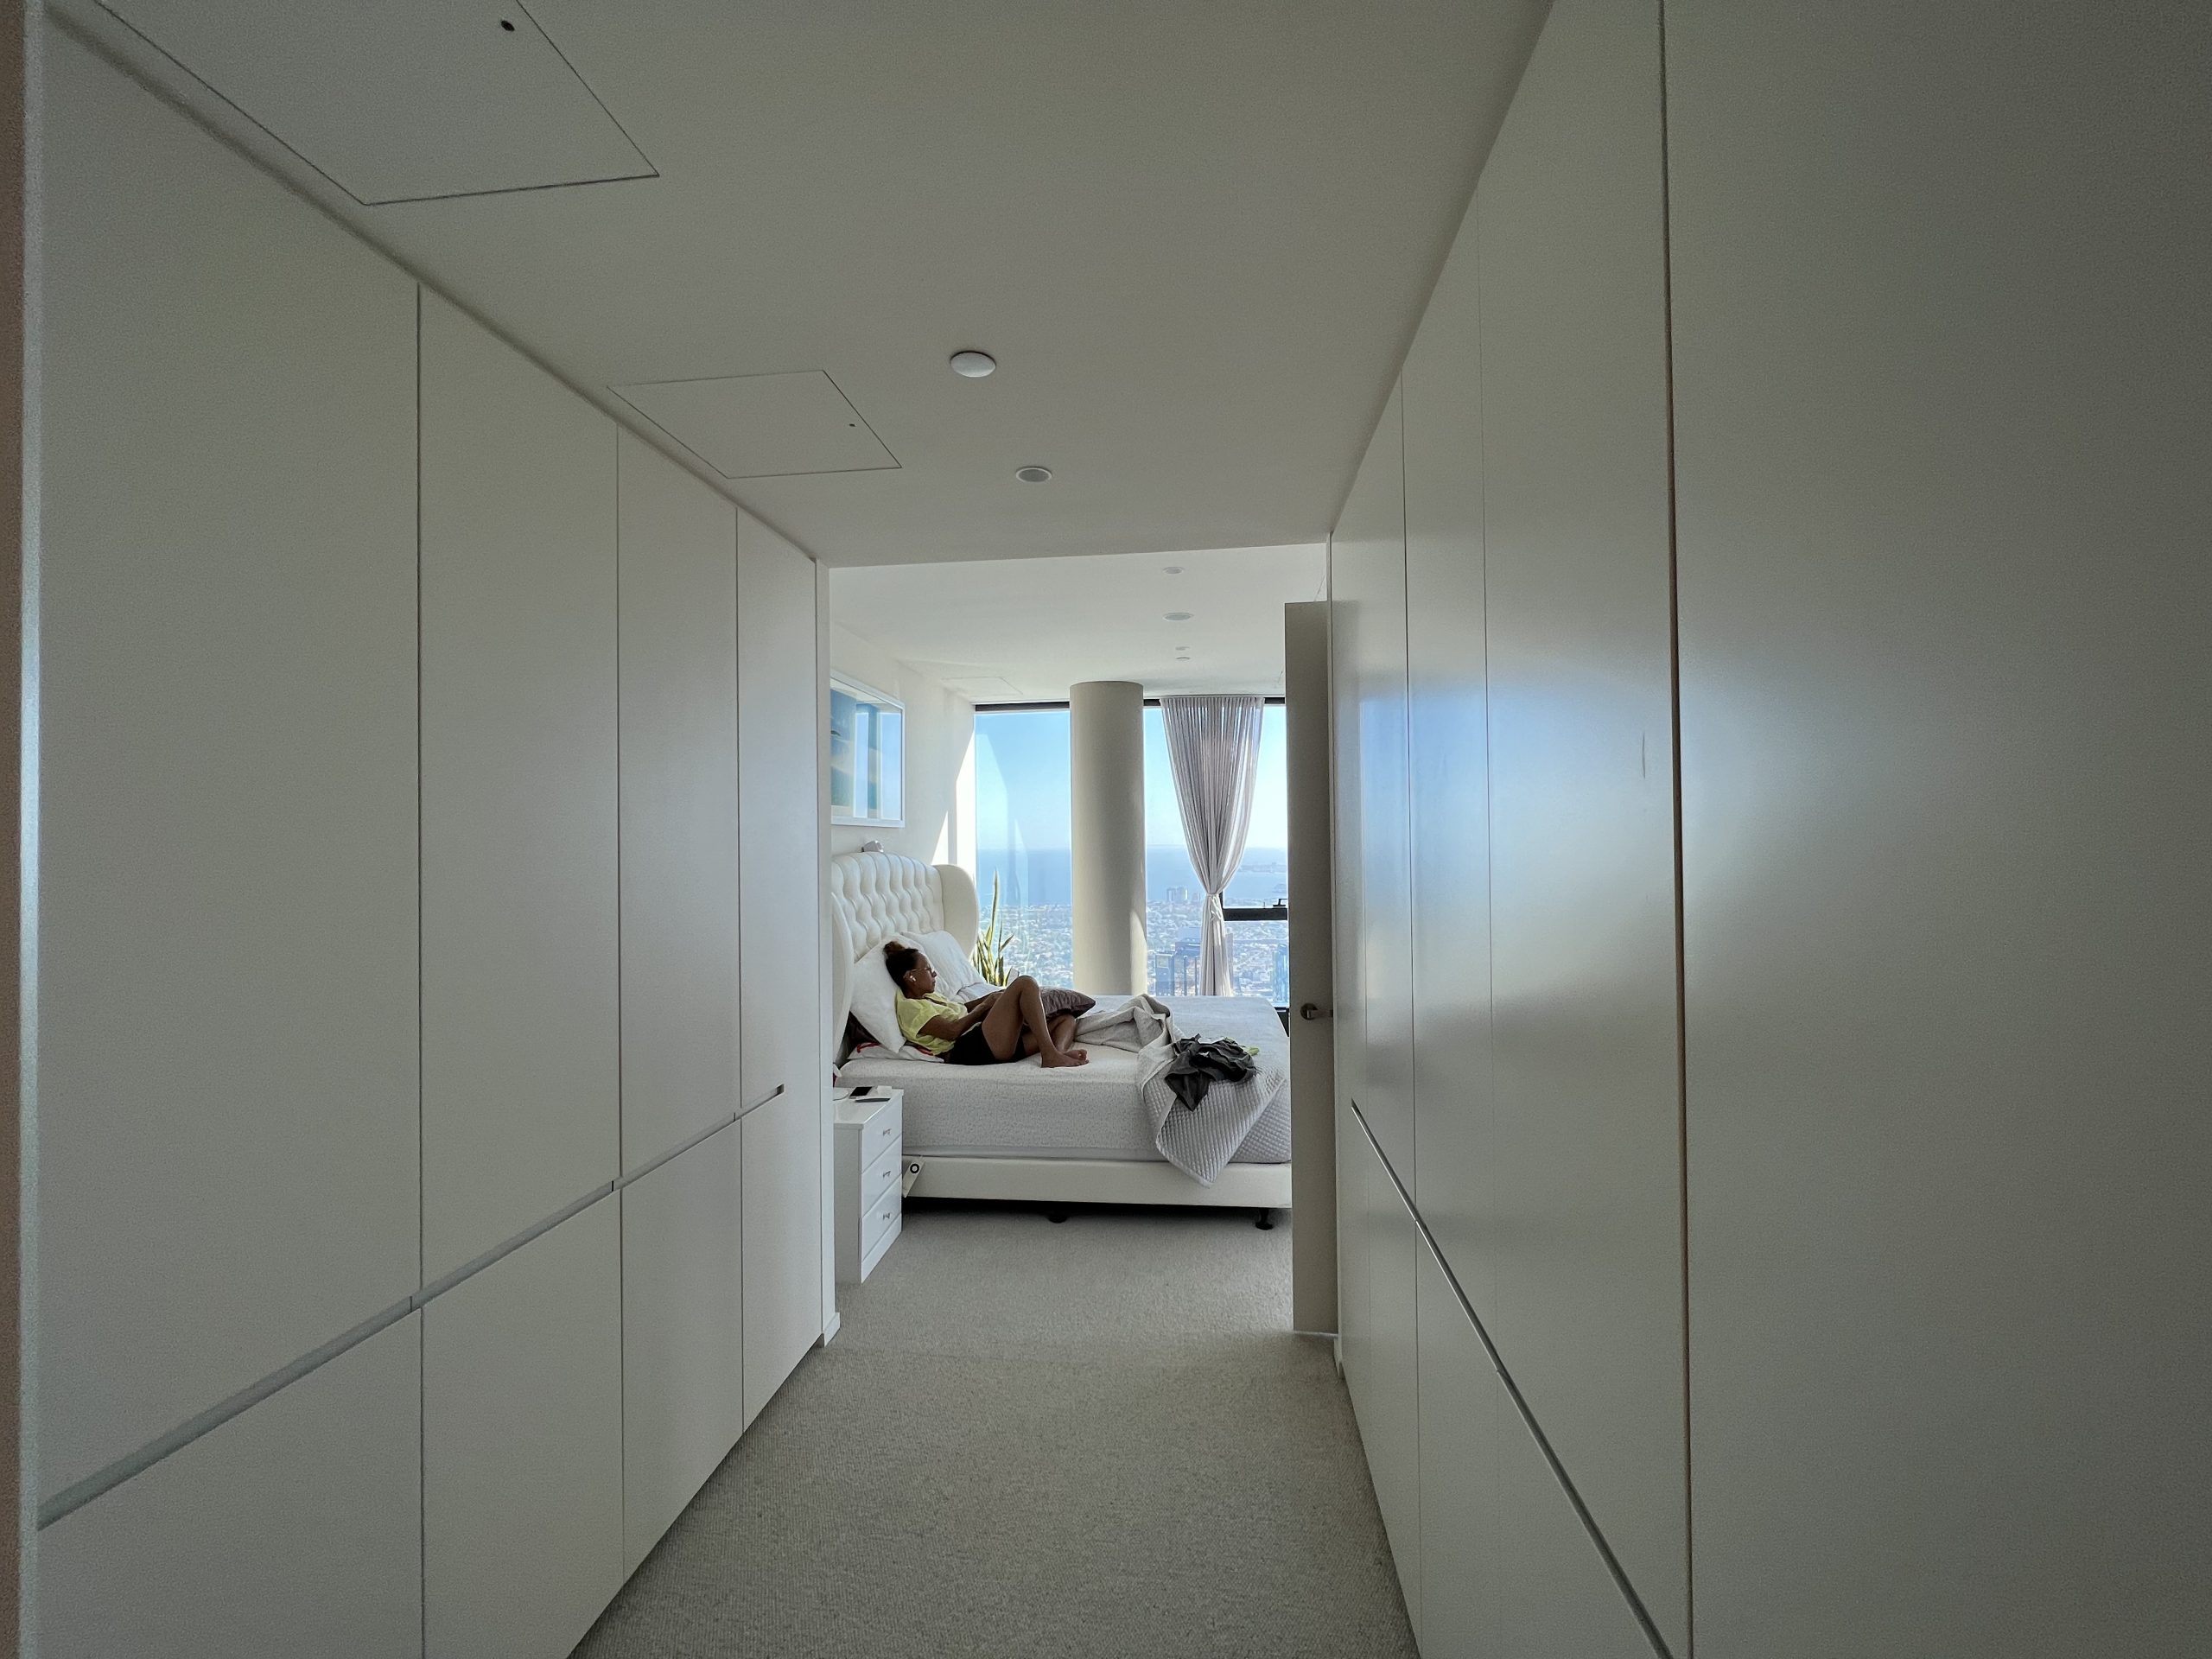
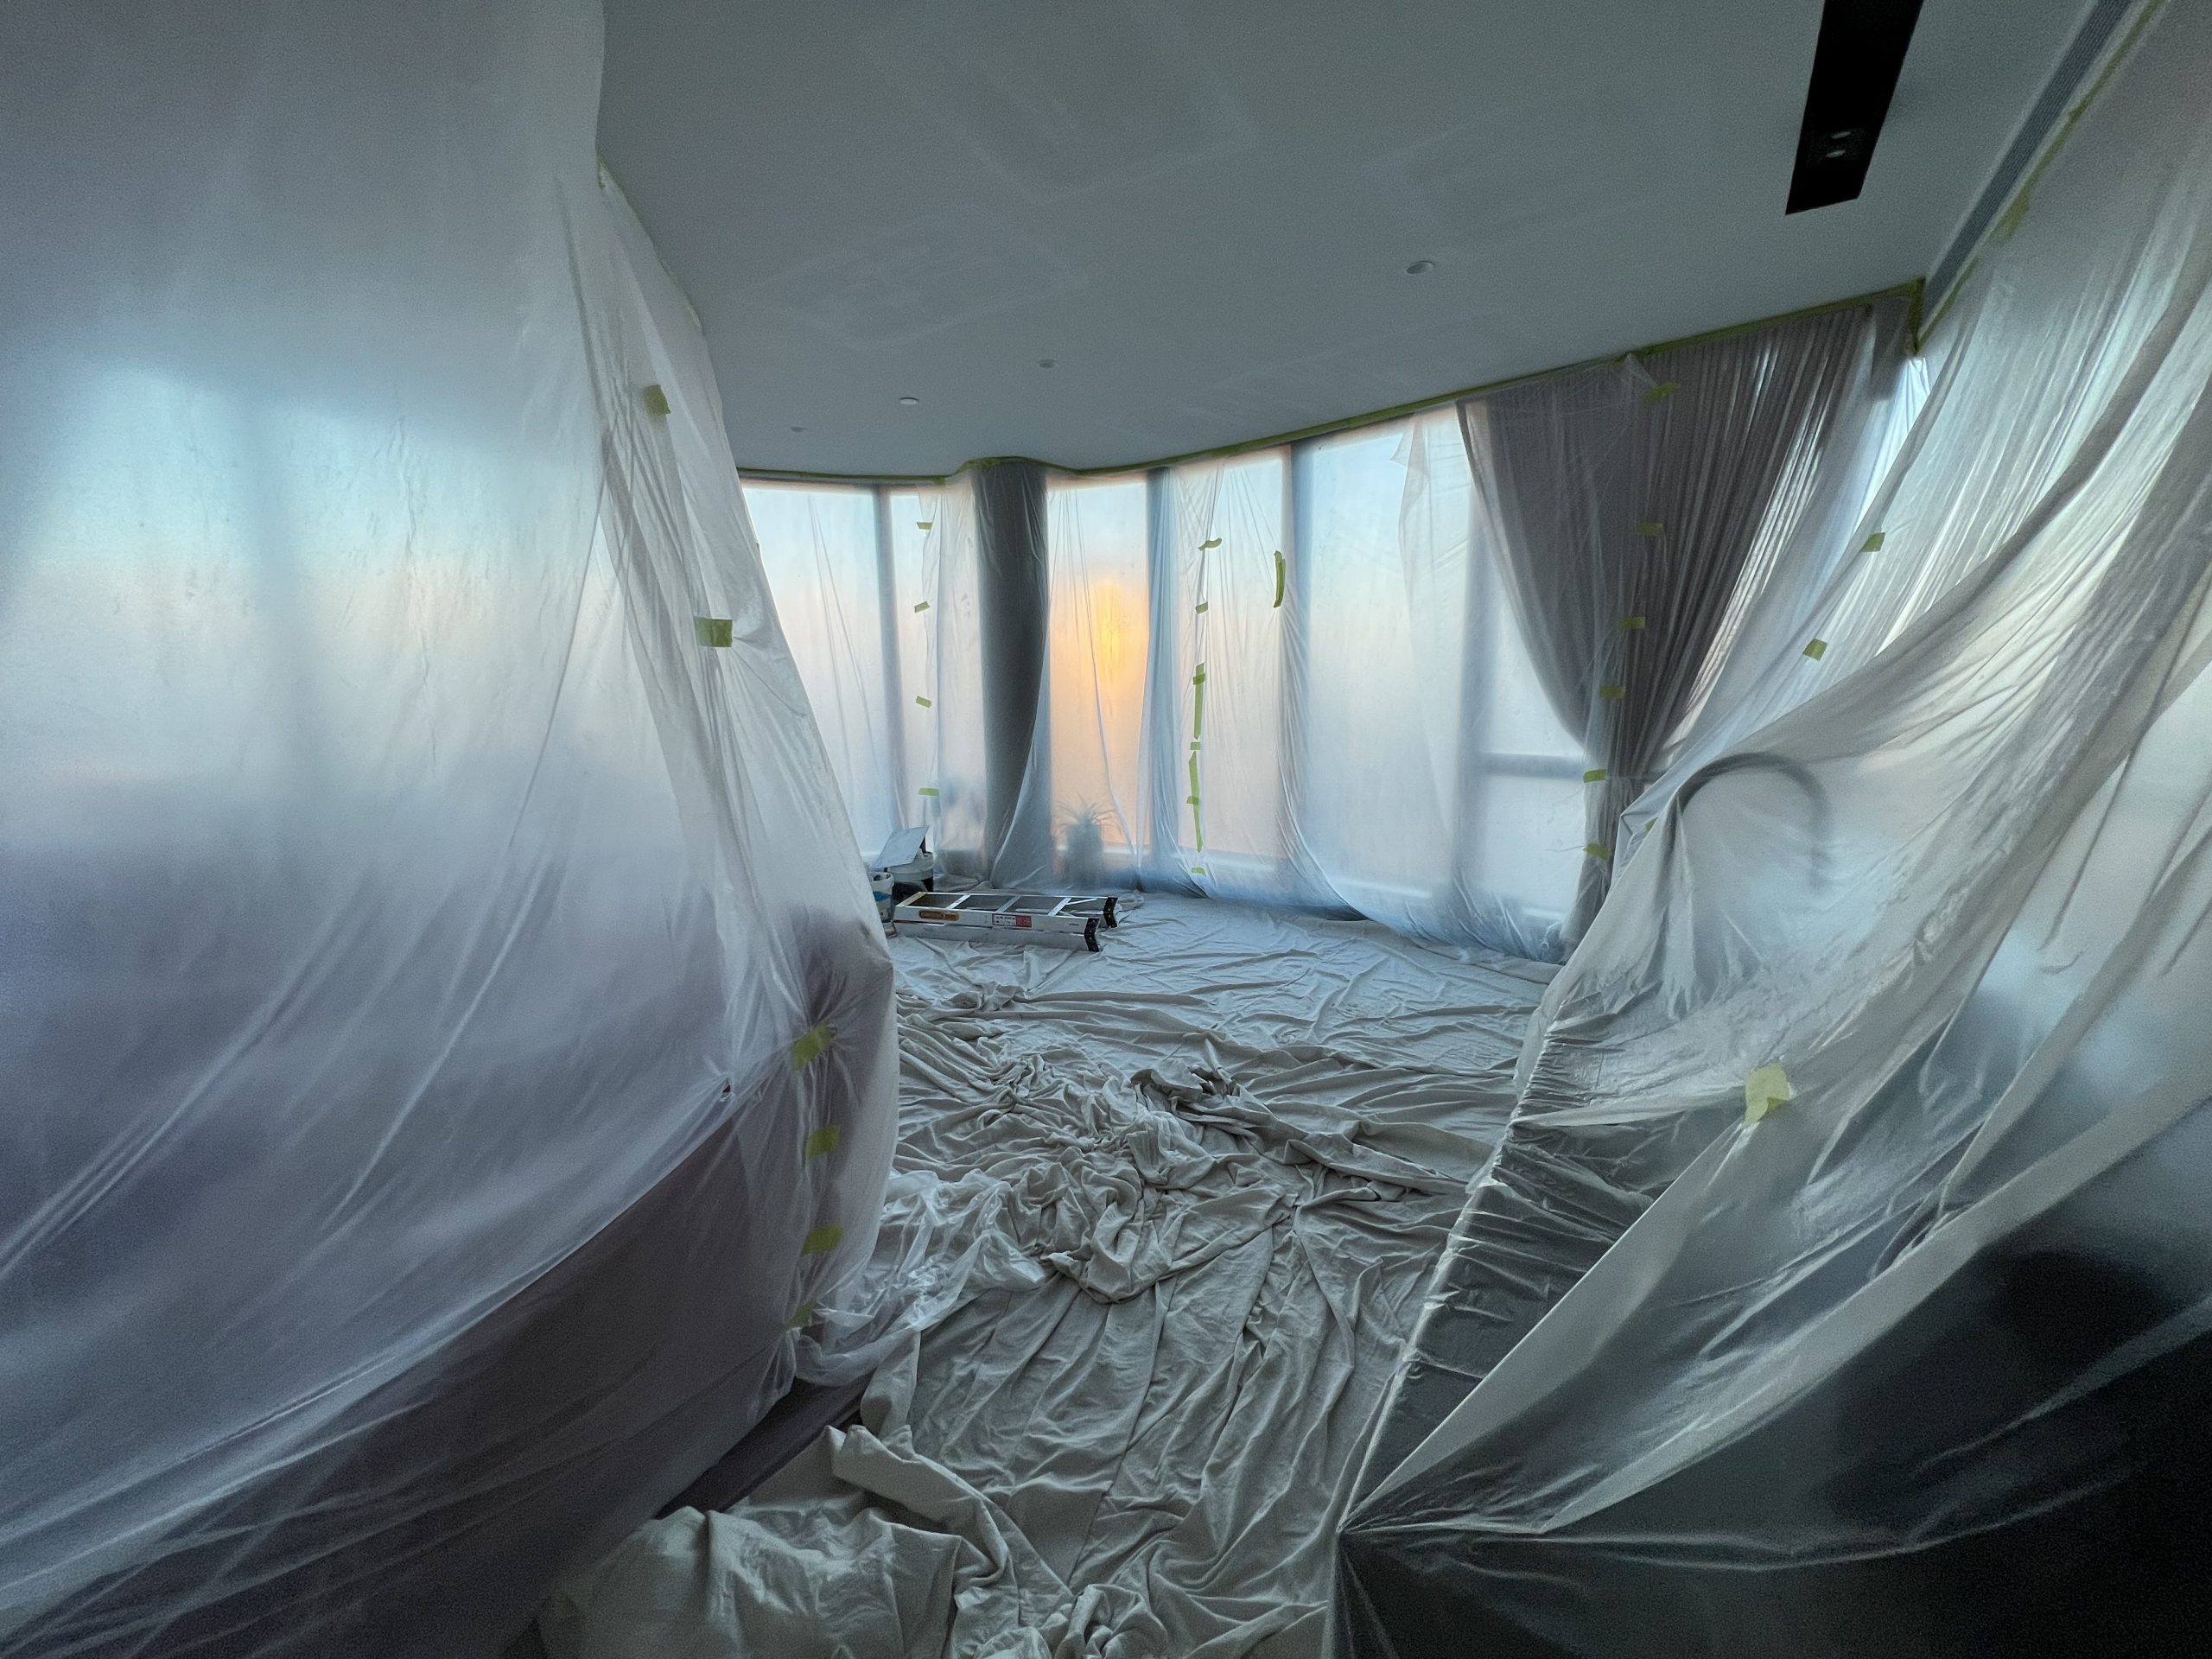
Renovating can be the fulfilment of many homeowners’ dreams; an opportunity to craft the home of your dreams from layout, design and finishes that meet all your criteria. However, renovation can also be messy, noisy and disruptive, with dust, debris and building materials left behind after renovation work has been completed, which makes cleaning up afterwards an exhausting challenge.
Post-renovation cleaning is essential to guarantee that your newly renovated home is clean, safe, and ready to enjoy. It involves clearing away dust, dirt, and debris from construction efforts as well as making sure surfaces remain free from hazardous materials – though post-renovation cleaning may seem daunting at first. However, with proper tools and techniques at your disposal, it can be completed efficiently and effectively.

In this blog, we provide an in-depth post-renovation cleaning guide that is both safe and effective, including safety measures, cleaning solutions and techniques to achieve sparkling surfaces after renovation – floors, walls and furniture alike! With our guide’s assistance, you can perform a sparkling home awaiting enjoyment after any refurbishment project has ended.
Step 1: Safety First
Before commencing cleaning, ensure you have on all necessary protective gear, such as gloves, goggles and a dust mask. Renovation cleanup projects often leave behind hazardous debris like nails and screws, which must be safely dealt with to safeguard yourself and your family from potential injury. Remove large debris from the site according to local guidelines before disposing of it accordingly.
Step 2: Vacuum
The second step of renovation cleanup should involve dusting and vacuuming every surface – including walls, ceilings, floors and furniture – including walls, ceilings, floors and furniture. Doing this will remove any remaining dirt from renovation, such as small particles. A HEPA filter vacuum should do just the trick for this step, while microfiber cloth can help capture it as it won’t spread it further into the air. You should pay particular attention when dusting hard-to-reach corners such as notches, so use an appropriate crevice tool instead to reach those hard-to-reach spots for best results.
Step 3: Clean Surfaces with a Cleaning Solution
Once dusting and vacuuming have been accomplished, it is time to use a cleaning solution on all surfaces in the room. Combine warm water with a mild detergent or all-purpose cleaner, using soft rags or sponges to wipe down countertops, cabinets, and appliances using soft cloths or sponges – for tough stains, use more robust solutions for longer and wait before wiping – in this step; robust solutions may need to be left to sit before wiping; any aggressive cleaners or scrubbers as they could damage surfaces permanently! Avoid abrasive cleaners, which could damage surfaces over time.
Step 4: Clean Windows and Mirrors
Utilising glass cleaner and lint-free cloth, take steps to thoroughly wipe down all windows, mirrors, and glass surfaces in your home – including doors – using no streaks or smudges left behind, as this could make the space appear untidy or disorganised. Alternatively, mix water and vinegar for an organic option that’s eco-friendly too.
Step 5: Scrub and Disinfect Bathrooms and Kitchens
Bathrooms and kitchens require special consideration during post-renovation cleaning, especially the bathrooms and kitchens. Use a disinfectant cleaner to scrub all surfaces – sinks, toilets, showers and countertops alike – including sinks, toilets, showers and countertops using an old toothbrush, particularly around grout lines which often harbour bacteria or mildew that must be thoroughly scrubbed using either an old grout brush or grout scrubbing pads; pay extra special attention when cleaning those grout lines which harbour bacteria or mildew deposits as these can trap bacteria or mildew deposits over time and replace shower curtains and liners which accumulate mould over time as these items get mould or mildew build-up can accumulate mould or mildew growth over time and will need replacement due to mould build-up over time and must be scrubbed at this stage!
Step 6: Clean Floors and Carpets
Use a vacuum or broom to collect debris and dust on the floors before mopping or steam cleaning to get rid of dirt or stains left by mopping or steam cleaning. For carpets, hire professional cleaners or use professional equipment like the Hoover Steam Cleaner Pro (HSCP). In both instances, deodoriser may also be necessary – particularly during renovation projects where unpleasant odours might have built up during deep cleaning sessions.
Step 7: Air Out Your Home
Once all the cleaning steps have been completed, open all windows and doors to let fresh air in to ensure any lingering odours can escape and to provide your home with an inviting aroma – consider air fresheners or natural solutions like essential oils as air fresheners to provide your space with an attractive scent while contributing to good indoor air quality.
Cleaning after renovation can be an arduous task, but with proper tools and techniques, it can be completed efficiently and safely. Safety should always come first when undertaking this type of endeavour. Ensure that you are equipped with all necessary protective gear, disposing of any hazardous materials safely. Dusting and vacuuming will remove accumulated debris, while surfaces should be thoroughly cleansed using warm water mixed with a mild detergent or an all-purpose cleaner to leave your home spotless. Bathrooms and kitchens require extra special care as these spaces tend to gather the highest concentrations of dirt and bacteria. Use a disinfectant cleaner and a grout brush for thorough surface scrubbing; when finished, carpets should also be thoroughly vacuumed to complete this step-by-step guide and ensure your home looks gleamingly fresh!
Now that you understand how to master post-renovation cleaning, it’s time to put these skills into action. Whether tackling it on your own or hiring professional renovation cleaning services in Melbourne, ensuring your home is clean, safe, and ready to enjoy post-renovation is of utmost importance.

Renovation Cleaning Now can provide reliable and professional renovation cleaning in Melbourne. Our team of highly trained cleaners has all of the knowledge, equipment and personnel to manage even the most complicated post-renovation cleaning tasks with ease. Reach us on 03 8583 9108 for more information or email renovationcleaningnow@gmail.com to book an appointment or learn about more of our services.
Don’t hesitate to seek professional assistance if needed; renovation cleaning can be time-consuming and labour-intensive, and proper implementation will prevent potential health hazards or damage to your home. With our help or these cleaning tips, you can create an unpolluted space you will enjoy for years.
